Sunday, February 26, 2012

Jalie 2908 - Women's Stretch Jeans


Let me start out by saying, “These are the most comfortable pair of jeans I own!” That would be because they fit!! I took Jennifer Stern’s Blue Print to Blue Jeans class over at Pattern Review and I actually made a muslin. In doing so, I discovered the reason my jeans always pull down in the back is not because I needed a longer crotch length, but instead, I needed to carve out just a little (5/8”) in the crotch depth. Ahh, no more sliding down my rear when I bend over!!! These jeans still looked good and fit great after wearing them for an entire day. That makes me happy.

(Top - Simplicity 3790)
View A has a low rise (2-3 inches below the navel) and View B has a regular rise (at the navel). I chose view B, regular rise, and they fall just slightly below my navel. I added 1 ½”to the length so I could wear my jeans with a slight heal.

I did not follow the pattern instructions as written because I was following along with the blue jeans class. I did however skim over the pattern instructions and I must admit, they seem to be a bit difficult to follow – logistically that is. They are printed on the very large pattern sheets along with the pattern pieces, which makes for an awkwardly large instruction sheet. Jennifer’s class on the other hand, was very easy to follow along.

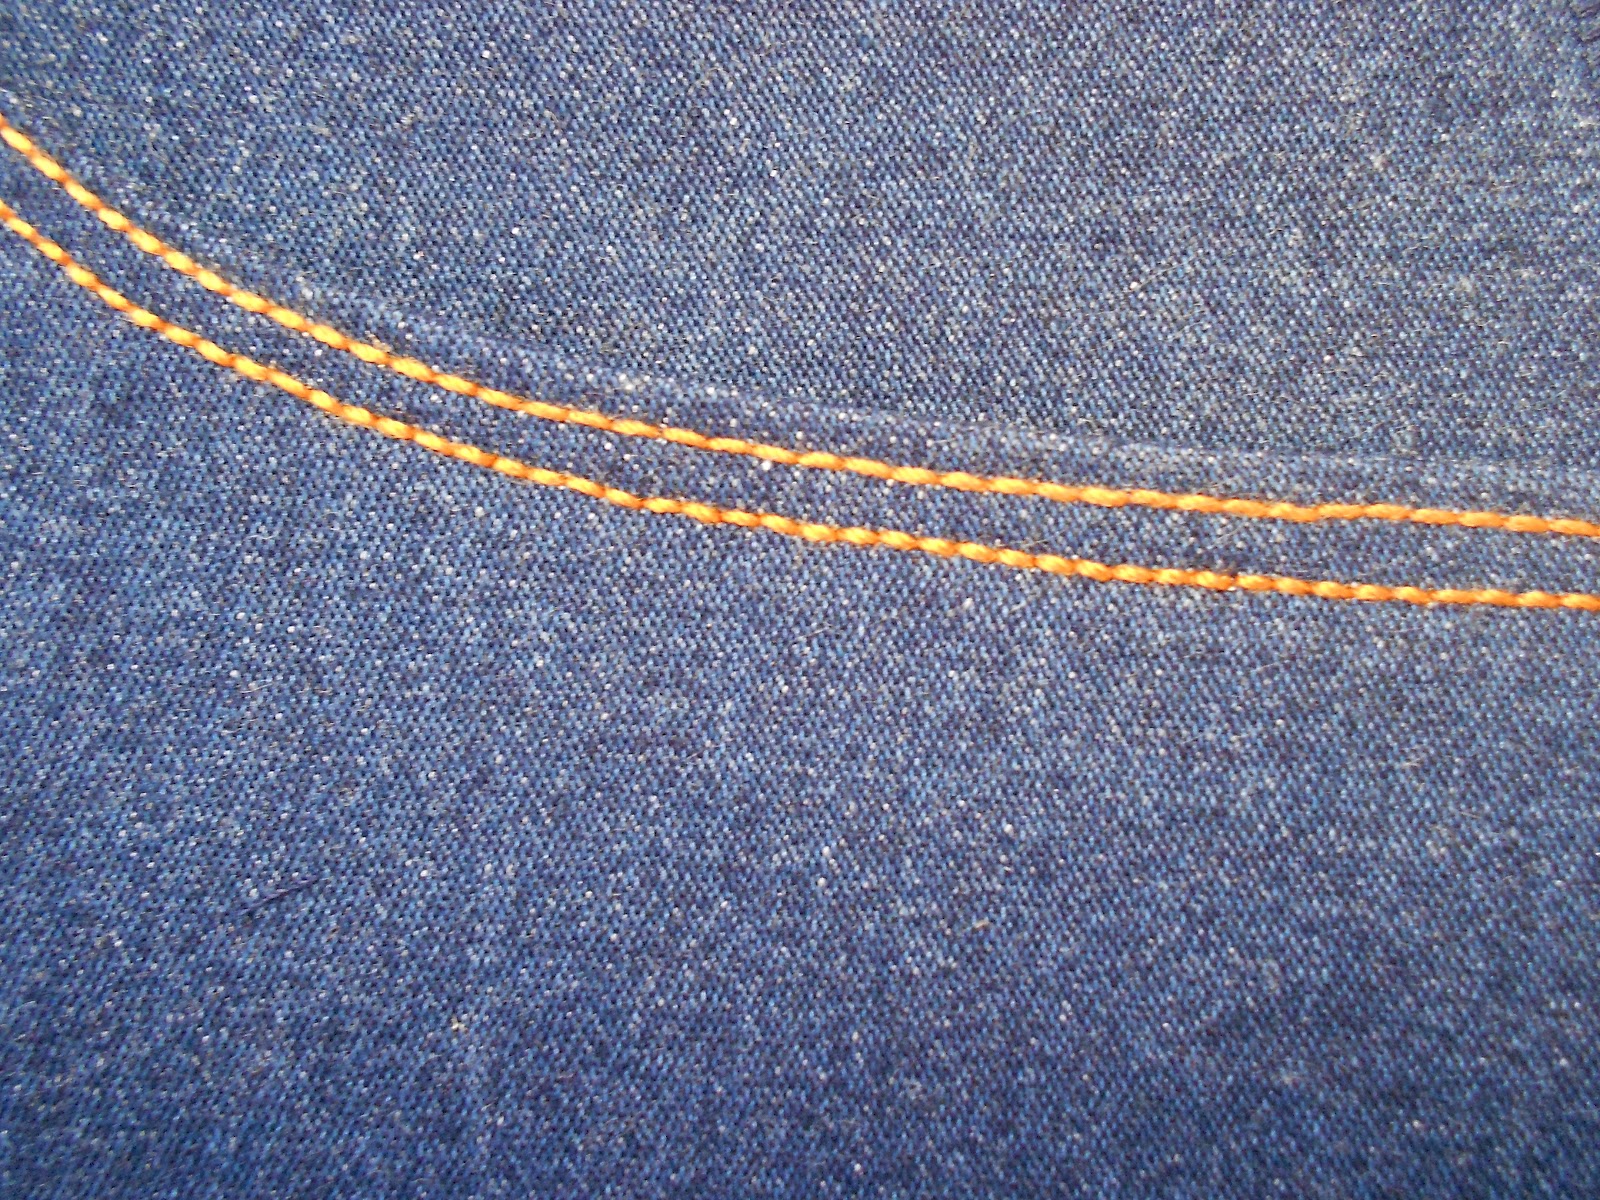
I used indigo stretch denim from Hancock Fabrics that was 96% Cotton/4% Spandex. It is a bit lightweight, but will be nice for three seasons out of the year.


The pattern called for an 8” zipper, but I used a 6” zipper because that’s what my local store had. It was perfect. I think an 8” would have been too long for my taste. As for the rest of the closure, I used a jeans button and a rounded-end buttonhole. But a word of wisdom - when sewing the button hole, be certain to put it almost completeley against to topstitching along the vertical edge. As you can see, I was not paying attention to that little detail, and my button is too far to the left. I will have to add a hook and eye to that end to keep it flat.


The pattern pieces include three separate pieces for the fly construction (piece R-fly interfacing cut twice, and piece T-fly shield, cut once). I used Jennifer Stern’s method for fly construction which was much more straightforward and used only two pieces. I added ½” to the long straight edge of piece R and cut only one piece instead of two and I also used piece T-fly shield. The fly closure looks great and assembly was very easy to understand. Here's an insider view of the fly:


For my first foray into jeans construction, I have to say it was a pleasant experience. I can’t vouch for the pattern instructions included with this pattern, but the pattern itself is terrific and the fit was just about spot on. It only required a few minor adjustments. I plan to make at least two more pair of these some time this year. One pair in a trendy color and another one in indigo, but a slightly heavier weight denim.

Monday, February 20, 2012

Baby Bow-Tie Quilt

I noted in an earlier post that I planned to make a simple quilt to complete the baby ensemble for my new grandchild.  He came into this world a few weeks early, so I scrambled to complete it before the baby shower this weekend.

Here is a photo of the quilt top before I layered it with the batting and backing.  It’s okay, but a bit one dimensional.


I always get such a kick out of the effect that the quilting has on the overall project.  I went ahead and washed it after it was complete so it would have that “crinkled” quilt look that I love.  Ta Da!!!  A 3-dimensional quilt:


My inspiration was from Cluck Cluck Sew. I used all one color for the background piecing but I just wasn’t thrilled with all that bluish grayish greenish background, so I decided to add a few blocks using one of the print fabrics from the same line. It is the same print that I used for my daughter’s nursing apron. I reviewed the fabric choices in my Infant Car Seat Cover and Nursing Apron post. Those print blocks really helped to break up that sea of bluish grayish green.

Adding the binding is always my favorite part of a quilt, not only because it means it is complete, but it finishes it off like a frame finishes a photo. 


The backing fabric is a polka dot flannel print from Robert Kaufmann.  I like to use flannel on the back of baby quilts because it is soft, warm, and easy to quilt.  The only thing left to do is embroider a quilt label and attach it to the back.  Since I did not piece the back and insert a quilt label like I did on this bed runner, I will make a separate label and attach it by hand.

Saturday, February 4, 2012

Multi-tasking

I didn't make a whole lot of progress on my Jalie jeans this week, but here's a couple of pics.
First is the front pocket 'bag'.  This is what I will see each time I pull on my new jeans:


Second is a close-up of the front pocket topstitching.


I'm almost done with the zipper insertion, but don't have any pictures to share yet.  Construction of the jeans has been temporarily halted as my little grandson was born three weeks early and I am hosting a baby shower for my daughter this month so I must make the baby quilt a couple of weeks sooner than I anticipated.  I'm almost done piecing the baby quilt and plan to completely finish it by next weekend. 

This is what I used earlier this week


to accomplish this in about 15 minutes:


I LOVE my Accuquilt Go!  I will be using it again this week to cut the binding strips for the baby quilt.  Here's to a (hopefully) productive week.