

Saturday, September 24, 2011
Apple Butter
Apples from my apple tree + sugar, cinnamon, & cloves = sweet Fall flavors all winter long.
 Equally good on pork, english muffins or toast, or straight out of the jar! Ya' gotta love this time of year.
Kitchen Valance
It's Fall and it's time for a change. Here is a simple valance I made for my kitchen window. Such a small change but such a significant impact. Sometimes simple is good!

I used some fabric from my stash. It is actually a Christmas print, but IMO can be used year round. It is "At Home for the Holidays" by Heather Mulder for Henry Glass Fabrics. The black print is a great accent to my black appliances, but I needed a pop of color so I added extra large red ric rac trim. I purchased both from my local quilt store about a year ago.

Now on to something not so simple. I must finish two skirts - one for me and one for my guest bed! Have a terrificly beautiful Fall weekend. My apple butter is in the canner processing as I edit this post.
Sunday, September 18, 2011
Pattern #376 Tutti-Frutti
Yet another charm pack table runner. But not for me this time. This is a Christmas gift for my mother. Aaaaack!!!! Christmas already? I know, if I were truly a dedicated sewist, I would be completing such gifts late into the night on Christmas Eve. Oh well, call me a novice.

The colors are perfect for my mother's home. She likes soft, pastels and this fits the bill. This is a great pattern by Sandy Gervais - it sews together quickly and it is fairly inexpensive. It only requires one charm pack, and a small amount of batting and backing fabric. I have a number of these table runners around my home. This post and this post (on the back of the chair) are two examples of a couple variations that I made of the pattern.
I know my mother will not turn this over to use the back side, so I used a vanilla colored kona cotton for a simple backing. Here's a picture of the back, plain and simple.

Here's a close up of the quilting.

On another completely unrelated note, I finally decided on a skirt pattern to go with my cardigan (Simplicity 2154). I'll post more on that later this week. Have a sunny, cloud-free week.
Wednesday, September 14, 2011
Bed Runner
Just wanted to share some progress on a small quilting project that I started this week. This is from the book Bed Runners Using Precut Fabrics by Kathy Brown.

The title of the pattern is "Serene Strips". Mine is anything but serene. The pattern calls for one jelly roll for the strips and all I had on hand was this Dolce jelly roll by Westminster Fabrics. This is stepping outside the box for me because my home decor is very neutral, warm tones. However, I'm working on brightening my guest room somewhat while still keeping a cohesiveness with the rest of the house. I have several changes in mind for that room, so we'll see. I'll post before and afters when it is complete.
Obviously the bed runner is not finished. I'm at a standstill because I just ordered coordinating fabric yesterday for the border, so I must wait until it arrives in the mail before I can finish.
Let's see now, I'm sure I can find something else to keep me busy until then......
Thursday, September 8, 2011
Retro-Modern Pillow
A crocheting camping we will go, a camping we will go . . . DH and I finally pulled out the RV for our first camping trip this season. We spent five glorious days and nights in the mountains doing absolutely NOTHING (except for crocheting this terrific retro-inspired pillow).

The pattern is in the Setember/October 2011 issue of Crochet Today magazine. The pattern includes a square version and a round version. I chose the round one simply because all my throw pillows are square and I needed to change up the mix a bit. I used the suggested yarn colors as follows - Red Heart Super Saver #380 Windsor Blue and #313 Aran, but I couldn't find #406 Med Thyme at my local craft store, so I used #661 Frosty Green. The pattern calls for a crocheted front and back for a 16" round purchased pillow form. Being a sewer, I decided to crochet only the front panel and to use fabric for the opposite side. I also added a scalloped crochet edge to bring it all together. I happened to have a piece of quilter's cotton in my stash that complemented the yarn colors perfectly. Here's a shot of the opposite side:

In case wondering minds want to know, here's how I put the whole thing together.
1. I started with my crocheted pillow panel:

2. After measuring to make sure it truly was 16", I cut my cotton fabric to 16 1/2" using a ruler and Sharpie to mark my circle.

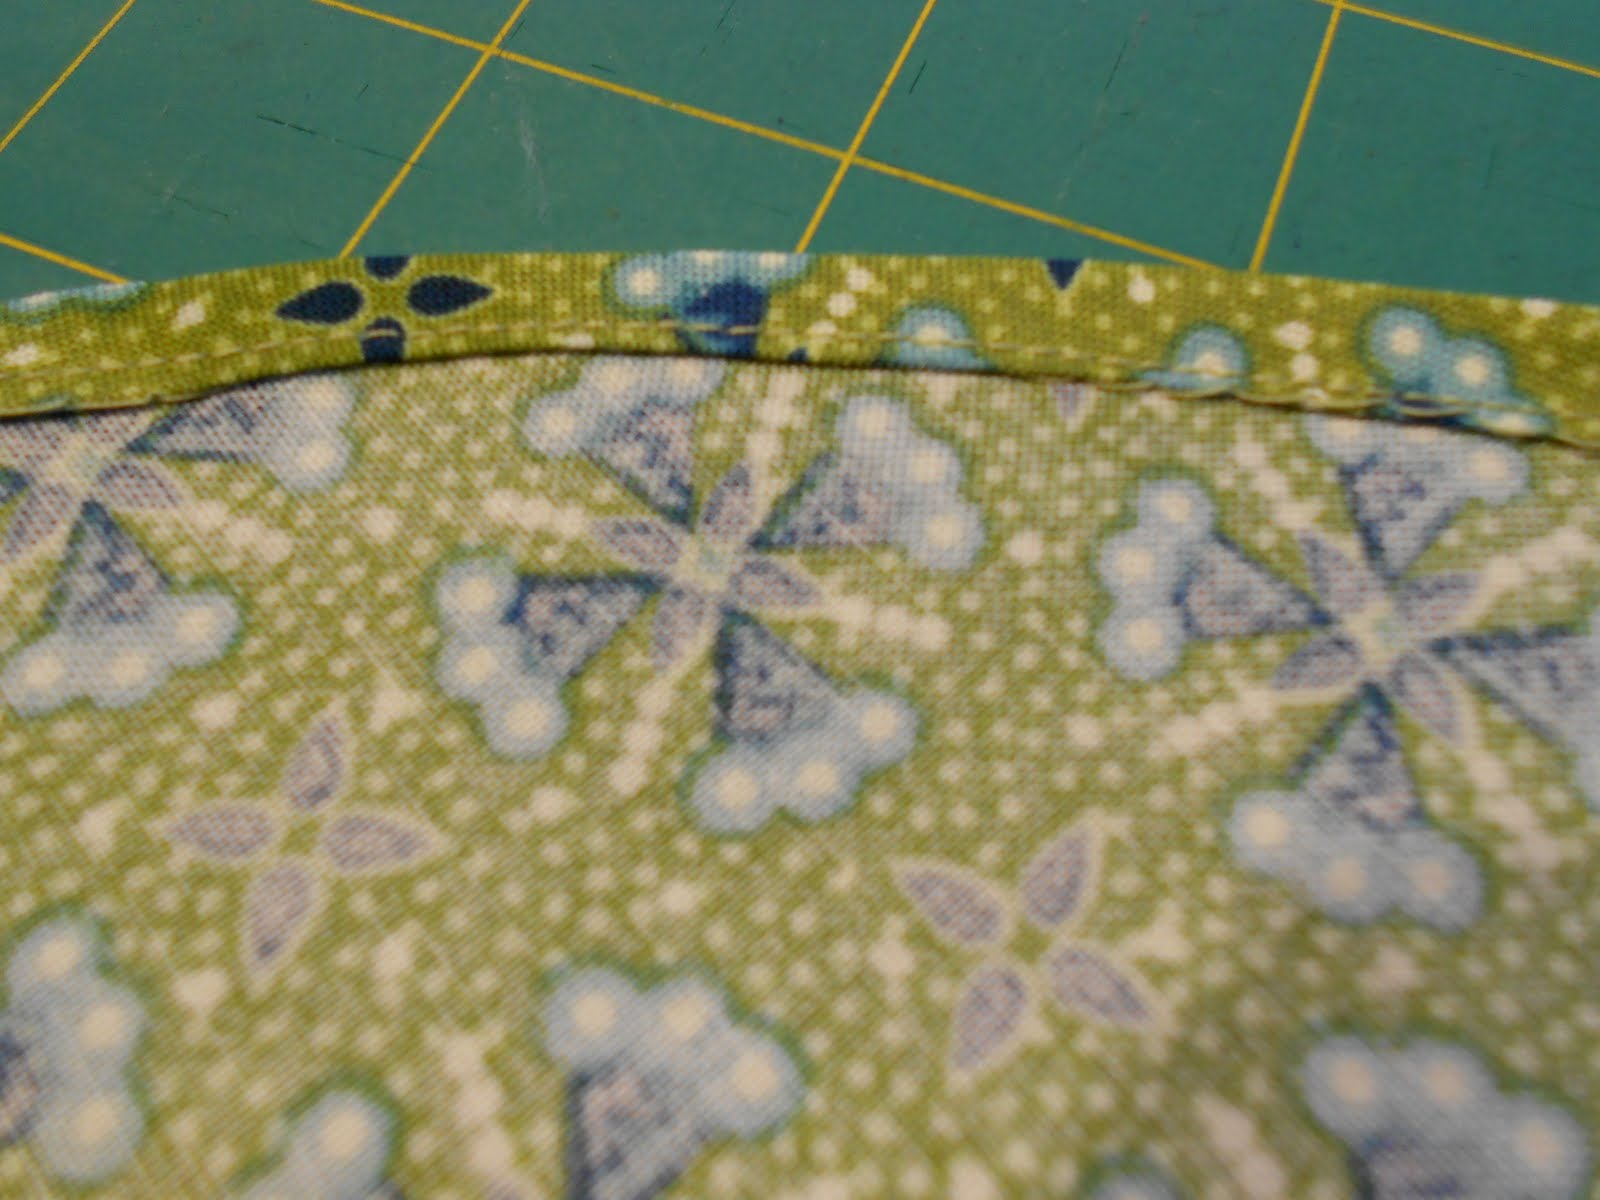
3. Then I sewed a 1/4" double fold hem around the circle. To do this, simply sew a basting stitch 1/4" from the edge of the fabric like so:

4. Pull up the bobbin thread and the hem will 'fold itself over'. Then simply fold it over on itself again and topstitch.

5. Then, using Omega nylon thread, I hand sewed a blanket stitch around the circumference of the cotton fabric so I would have a foundation on which to crochet a row of double stitches.

6. Finally, I used a scallop crochet pattern to attach the back to the front. This was a really fast and easy project and it was a great addition to my square, fabric home dec pillows.

The pattern is in the Setember/October 2011 issue of Crochet Today magazine. The pattern includes a square version and a round version. I chose the round one simply because all my throw pillows are square and I needed to change up the mix a bit. I used the suggested yarn colors as follows - Red Heart Super Saver #380 Windsor Blue and #313 Aran, but I couldn't find #406 Med Thyme at my local craft store, so I used #661 Frosty Green. The pattern calls for a crocheted front and back for a 16" round purchased pillow form. Being a sewer, I decided to crochet only the front panel and to use fabric for the opposite side. I also added a scalloped crochet edge to bring it all together. I happened to have a piece of quilter's cotton in my stash that complemented the yarn colors perfectly. Here's a shot of the opposite side:

In case wondering minds want to know, here's how I put the whole thing together.
1. I started with my crocheted pillow panel:

2. After measuring to make sure it truly was 16", I cut my cotton fabric to 16 1/2" using a ruler and Sharpie to mark my circle.

3. Then I sewed a 1/4" double fold hem around the circle. To do this, simply sew a basting stitch 1/4" from the edge of the fabric like so:

4. Pull up the bobbin thread and the hem will 'fold itself over'. Then simply fold it over on itself again and topstitch.
5. Then, using Omega nylon thread, I hand sewed a blanket stitch around the circumference of the cotton fabric so I would have a foundation on which to crochet a row of double stitches.

6. Finally, I used a scallop crochet pattern to attach the back to the front. This was a really fast and easy project and it was a great addition to my square, fabric home dec pillows.
Sunday, September 4, 2011
Completed Cardigan - Simplicity 2154
Wow! Hard to believe it's been a month since my last post. It is my goal to post at least once a week, if not more. Hmmmm, I fell a bit short of that goal in August. Okay, enough guilt, let's move on. It's a new month, new beginning. Here's my completed cardigan that I previewed in my one and only August post (so maybe I'm not past the postless guilt syndrome yet!):
 In case it's not obvious, that's not me modeling the cardigan. Until I've completed the entire outfit, I chose to simply show it on the headless woman who shares my sewing
 room studio. I plan to sew a skirt and blouse to make a complete ensemble.
Here's a close up of the buttons and buttonholes.

Buttonholes are not my favorite closure to sew, but I sucked it up and forged ahead. Don't get me wrong, my Bernina sews the most beautiful, perfect buttonholes I've ever seen. It's the simple act of cutting the slit in the buttonhole that rattles my nerves. Once the initial cut is made, there's no turning back - this is not a task for those afraid of commitment! Four of the six buttonholes were a "clean" cut and I only clipped a few threads on the other two buttonholes when I cut the slit in them. That's success in my book. I simply went back and sewed a new zig zag over the clipped threads. This is a picture of one of the buttonholes that I "repaired":

I've not fully commited yet to which pattern I will use for the complementary skirt and blouse, so until then, I've gone a whole different direction. I have an almost-completed home dec project that I will share with you later this week. Have a terrific Labor Day.
Subscribe to:
Posts (Atom)